

Here are the twins' names!
Parker Allen Morris & Brooks Patrick Morris
We've been debating over these names since we found out we were pregnant again. And the epic war dispute has finally been settled! We really liked both of these names all along, but there was another one in the mix there for a while that was making us question our decision. I would decide on two of the three names, then Marsh would like the other one, then vice-a-versa....you get the idea. Once the first names were settled, though, the middle names were pretty easy to pick. We were set on using Allen because it is Marshall's middle name and also his great-grandfather's middle name. We then thought it would be random if we didn't give Brooks a family name as well, so we chose Patrick. It's my Granddad's name and it also just sounds really good with Brooks.
I was so excited to have the names picked out that I went ahead and made them some little name onesies! They were really easy to make, so I want to show you how I did them. I used the same freezer paper technique that I did last year when I made Marshall's Father's Day t-shirt. I'm definitely not the first to use this method (I'm always copying projects), so you can probably search for other examples online, too. Here are the steps:
1. I started out with some white, cotton onesies. Are these not the smallest things you've ever seen?! And they aren't even "preemie-sized." After my 8-plus-pound Laney, these boys are sure to seem so tiny to me! Anyways, I washed and dried them (in Dreft) before I started.

2. Gather all the other materials you need. They include freezer paper, scissors, fabric paint, paintbrush, cardboard, an iron, and a craft razor & cutting mat. On these onesies, I actually used screen printing ink ($4 / bottle) but the first time I did this I just used fabric paint and it worked fine.

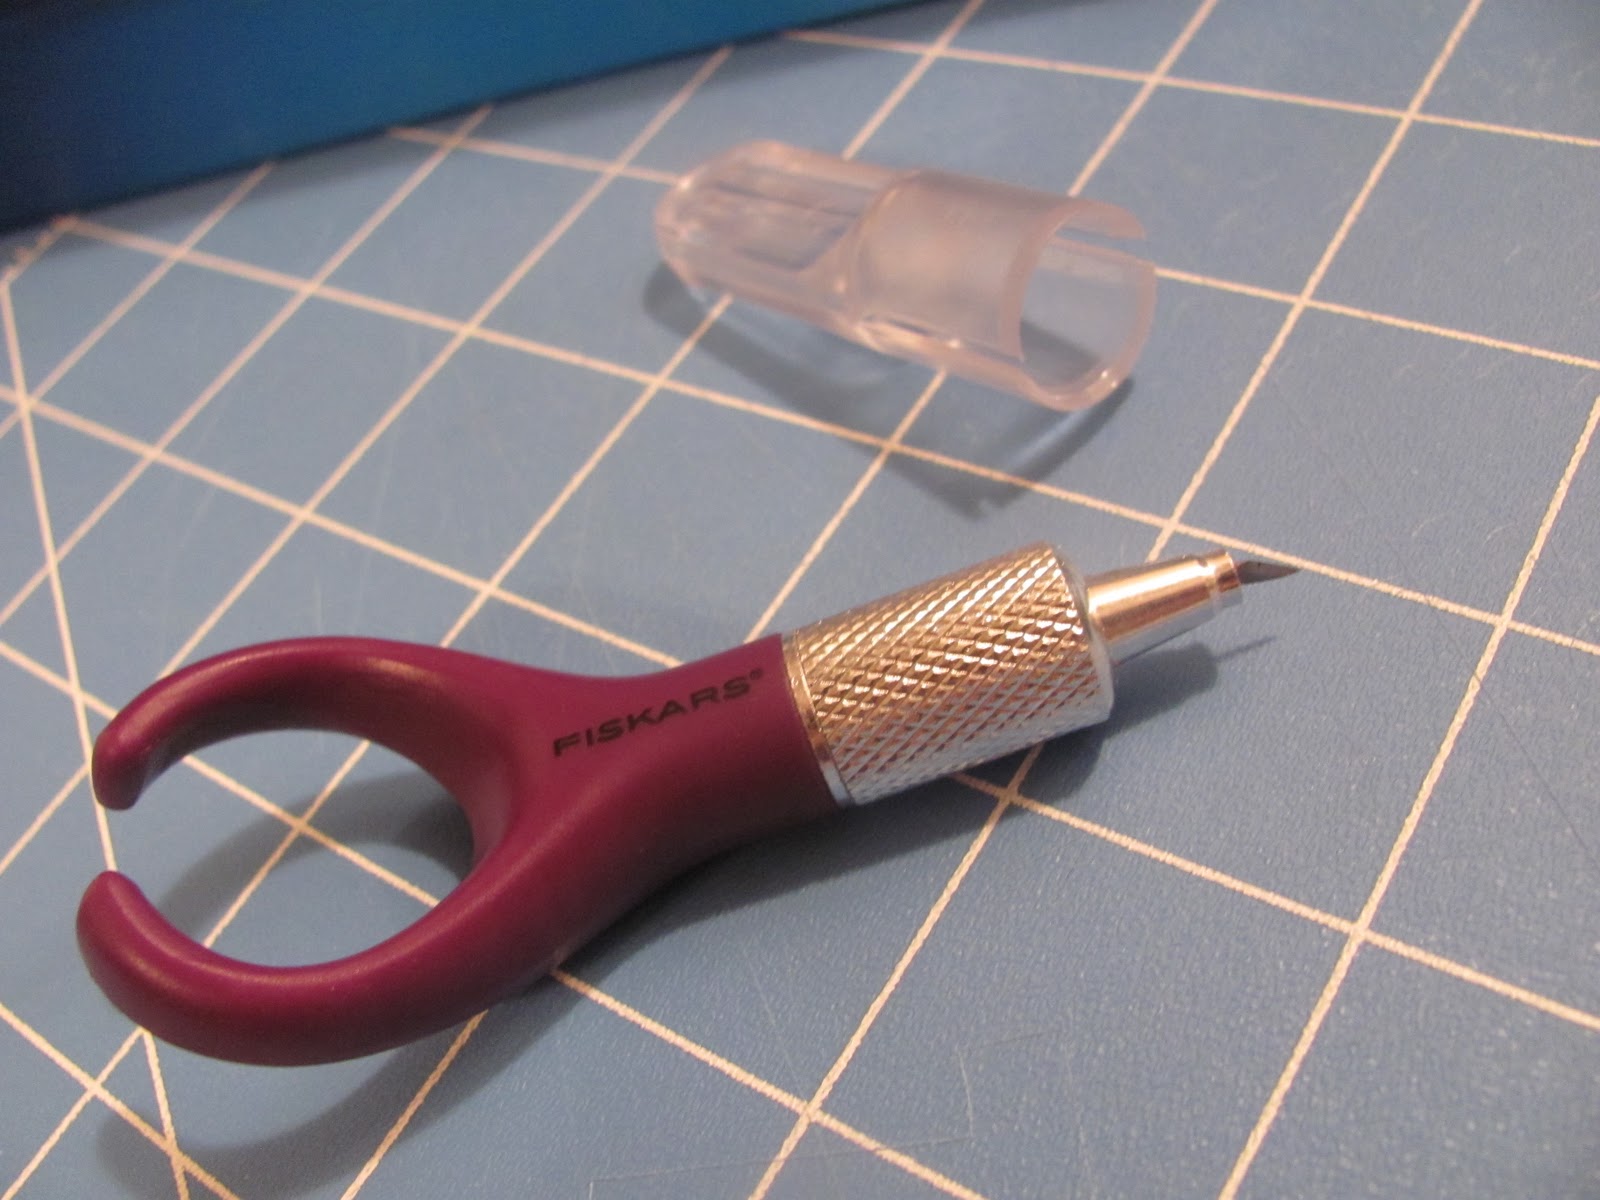

3. Trace your chosen letters or image onto the non-shiny side of the freezer paper. Use the razor and mat to carefully cut out the images. Make sure to keep the centers of the letters to iron on as well. If you don't do this, you won't have holes in your letters like P, A and E. (This step is where I used my Silhouette machine instead of tracing and cutting. It was so nice because it cuts so fast and perfectly!)

4. Place the freezer paper shiny-side-down on your clothing and iron it on! Don't forget to iron on the centers of the letters, too. My centers were so tiny that I used some tweezers to help place them.

5. Cut a piece of cardboard that you can place between the layers of the shirt/onesie so that when you paint it doesn't bleed through to the back.

6. Finally, paint several coats of fabric paint over the freezer paper and onto the shirt. Let it dry completely before pulling off the freezer paper. Then you're finished!

0 comments:
Post a Comment